Hello, Gaylynn here. Thanks for visiting. Here on this last day of July, I am sharing card scene building using a mix of stamping, heat embossing and ink blending. I am getting an early start on my holiday card making.
Sentiment: Peace. Holiday cheer.
Go through your crafty stash for stamps not intended for the holidays to help create a holiday card. These trees worked great for building the winter scene.
Hi there. Today's project is a support or sympathy cross card & script background. I used a mix of Copic markers for color plus white heat embossing for the background.
Sentiment: In your own time and way, I'm here.
This is a heartfelt greeting with inspirational words for comfort.
Today for Unity Stamp Company, I share pearlescent watercolor and gold embossing on black paper. This matching sympathy set of cards and a gift tag were made quickly and easily with a couple of unique watercolor products.
Almost any stamp and theme can be used for this watercolor and embossing technique.
Hello. Today, I am sharing an embossed nativity scene with a variegated snow card background. This background technique adds beautiful shimmering detail.
Sentiment:
All is calm. All is bright.
With this technique, dark color cardstock works nicely, or even darker ink blending as well.
Hello, it's Gaylynn. The My Creative Time 127th Edition release and Black Friday sale are coming up on Friday. But for today, the team is sharing adorable Day 2 sneak peeks. Today, we are showcasing the newest winter stencil and Dec 25th die.
Sentiment: Dec 25th
With this stencil, the winter backgrounds and accents are pretty and easy to do. I used non-traditional holiday colors for this card.
Hello. The My Creative Time design team is sharing masculine projects. For today, I made a mini slimline card with masculine mustache gold wet embossing.
Sentiment: Celebrate you!
This is a great slim card for the guys for almost any celebration occasion. The mustache stenciling was fun to do for this card background.
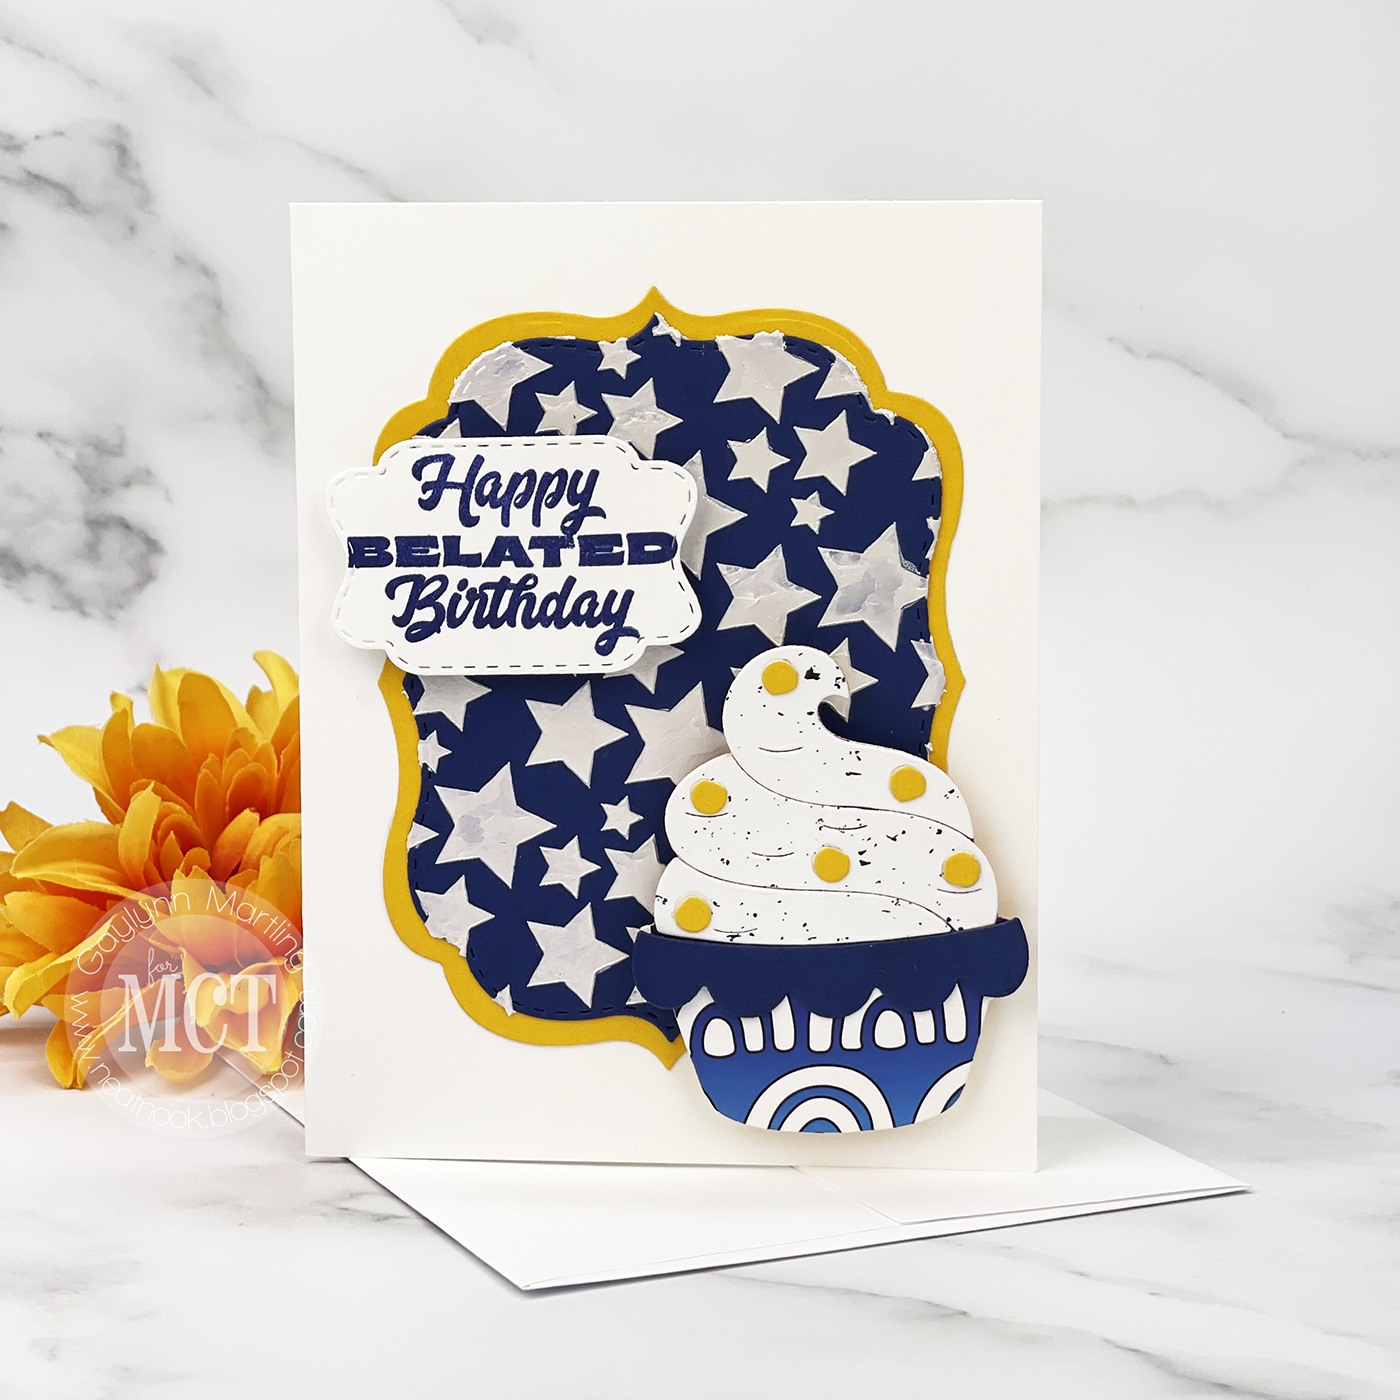
Hello, it's Gaylynn. The My Creative Time 121st Edition release and sale are live. Here is my celebration card for today. See what else Emma has in store for you. For the blog hop, you may have arrived from Emily's blog.
Sentiment: Happy Belated Birthday.
This one is vibrant with contrasting colors with stars that pop. It is great to have belated birthday cards on hand.
Hello, it's Gaylynn. The My Creative Time 120th Edition release and sale is live. Here is my celebration card for today. See what else Emma has in store for you. For the blog hop, you may have arrived from Emily's blog.
Sentiment: Celebrate your day.
This card was made cheerful and colorful for almost any celebration occasion like birthday and more.
For the background, I stamped in watermark ink and then heat embossed the butterflies in white. And for the coloring, I used ink cubes and ink blending brushes. I wanted to mimic the sky and the sun.
Hello. Today, on the Unity blog, I am sharing a layered embossed poppy flower card & matching envelope. This one was easy to do with no coloring involved.
Sentiment: Birthday wishes.
Layered embossed poppy flowers make beautiful florals. Using solid or variegated ink on the solid stamp along with white heat embossing on the outlines, the results are wonderful.
I made a quick video tutorial showing the process for this project. {{Please subscribe to my video channel and like this video. Many thanks.}}
Hello. Today, on the Unity blog, I am sharing wet and dry embossing techniques featuring stamping and Copic marker coloring. Mixing embossing on a card looks pretty, especially with a bit of gold shimmer.
Sentiment:
Feel better.
I made a quick video tutorial showing the process for this project. {{Please subscribe to my video channel and like this video. Many thanks.}}
Using Brusho crystal color powders results in vibrant watercolor cards. Today on the Unity blog, I am sharing a set of cards using this colorful watercolor technique.
Sentiments: Happy Holidays Merry Christmas
I made a quick video tutorial showing the process for this project. {{Please subscribe to my video channel and like this video. Many thanks.}}
For added card dimension, layer it up. Today, on the Unity blog, I am sharing a way to add texture and layers to this rose and gold embossed card.
Sentiment: Have a beautiful day.
I used a bit of gold wet embossing for the background stenciling. Layer it up with a background panel, embossing, a sentiment panel and added rose sections.
Helpful tips:
Here are helpful tips for making this card and to layer it up. To begin, make a background panel by adding gold wet embossing using a stencil. Next, stamp the flower sections, the sentiment frame and the sentiment onto white cardstock. Then, color the rose flower and the leaves. I used Copic markers with Copic friendly ink. Once, colored in, fussy cut (cut out) the flower pieces and the sentiment panel. Once dry, adhere the embossed panel over the teal card base. Finally, using double-sided foam tape, layer the sentiment panel and the flower sections over the embossed layer, to finish.
Here is another look.
I made a quick video tutorial showing the process for this project.
{{Please subscribe to my video channel and like this video. Many thanks.}} YouTube: Gaylynn NeatThingsBtq
This project is included in the Simon Says Wednesday Challenge ~ Out With the Old and In With The New (old embossing paste ~ new stencil and rose stamps)
Adding a bit of gold stenciling gives a card a pretty shimmer accent. Today, on the Unity blog, I am showing one way to add stenciling using a wet embossing technique in metallic gold.
Sentiment: Prayers
For this card, I added gold stenciling over the stamped floral background. It adds the perfect touch along with added flower accents.
Helpful tips:
Here are helpful tips for creating this metallic gold cross inspirational card. To begin, trim or die-cut the stamped layer and accents. Next, stamp the floral background and extra flowers. Also, fussy cut (cut out) the extra flowers. Then, prepare a craft space for wet embossing using a plastic craft mat, a stencil, spatula and embossing paste. Next, using embossing tools, spread an even layer of gold stenciling paste over the cross. Once finished, clean off the paste from all tools immediately. Then, allow the embossing to dry for at least one hour. Once set, layer the card front. To finish, accent with added flowers and a sentiment.
Here is another look.
I made a quick video tutorial showing the process for this project.
{{Please subscribe to my video channel and like this video. Many thanks.}} YouTube: Gaylynn NeatThingsBtq
Also, foam and flat double-sided tape, cardstock, mini Misti, Ranger archival ink in Viridian, My Favorite Things stitched scallop basic edges die-namics; My Creative Time more stitched rectangular dies, Dreamweaver metallic gold embossing paste, Simon Says Stamp prayers die, spatula, plastic craft mat.
Be sure to visit the Unity blog for the entire article and tutorial.
Hi. This is Gaylynn and I enjoy paper crafts, mostly card making. This is a place to document my hobby. I get to do what I love as a contributor on creative design teams. You will find card tutorial videos here as well. Thank you so much for visiting.