Showing posts with label toner card fronts. Show all posts

5/12/2021

Card foiling & negative foiling tutorial ~ 2 cards

 Card foiling is double the fun by using negative foiling for a second card.  Today, on the Unity blog, I am sharing two cards using toner card fronts with foil and a laminator.  I go an extra step to show a way to use the negative of the first foiling plus added double foiling.

Sentiments:
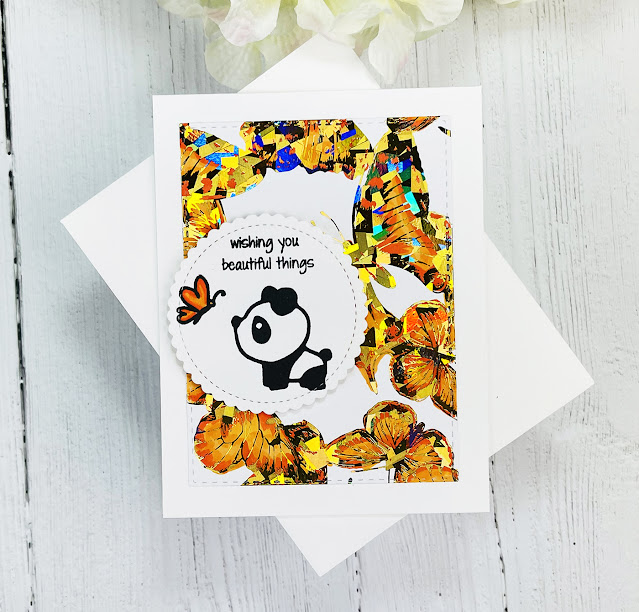
Wishing you beautiful things.
A mother's love is measured in timeless moments.

Making a set of foiled cards is easier using the negative of the first foiling pass.  An added bonus is double foiling.  Here is a look at how it is done.

Here is the moth toner card front with the first foiling pass using a gold shattered glass foil sheet.
Helpful tips:

Here are helpful tips for making this set of foiled cards.  To begin, pre-trim or die-cut the toner card fronts and the black toner sheet to desired sizes.  Also, stamp, color and prepare sentiment tags for each of the cards.  Next, preheat your laminator.  Then, trim one gold foil sheet and one purple foil sheet a little larger than the panels that you are foiling on.  And, have a carrier sheet ready, like a smooth folded piece of parchment paper.  Next, sandwich the toner card front face up and then the gold foil sheet pretty side up between the parchment paper.  Then, run this sandwich through the hot laminator and then gently remove the gold foil.  Next, repeat the process but use a black toner sheet plus the negative of the gold.  You should get a gold background with the moths in black.  If you want the moths another color, foil once more using purple or another color.  Finally, assemble the cards, to finish.

Here is a second card made after using the negative of the first moth foiled sheet along with an added third foiling pass using purple foil.


I made a quick video tutorial showing the process for this project.
{{Please subscribe to my video channel and like this video.  Many thanks.}}
YouTube:  Gaylynn NeatThingsBtq


 Supplies:
Also, iCraft Deco Foil in amethyst watercolor & gold shattered glass, Deco Foil black toner sheets; flat and foam double-sided tape, My Creative Time rectangle frame die layers, My Favorite Things extreme black hybrid ink pad and stitched mini scallop circle STAX die-namics; gold glitter paper, original Misti, Yourstory laminator, parchment paper, Copic markers YR09, YR04, YR14 

Be sure to visit the Unity blog for the entire article and tutorial.
Also, you can find my other features at Unity's
Technique Time and
Watercolor Wednesday.

    Thank you for visiting.
   Gaylynn


5/04/2021

2 Cards ~ Toner card front laminator foiling, stamping & die-cuts

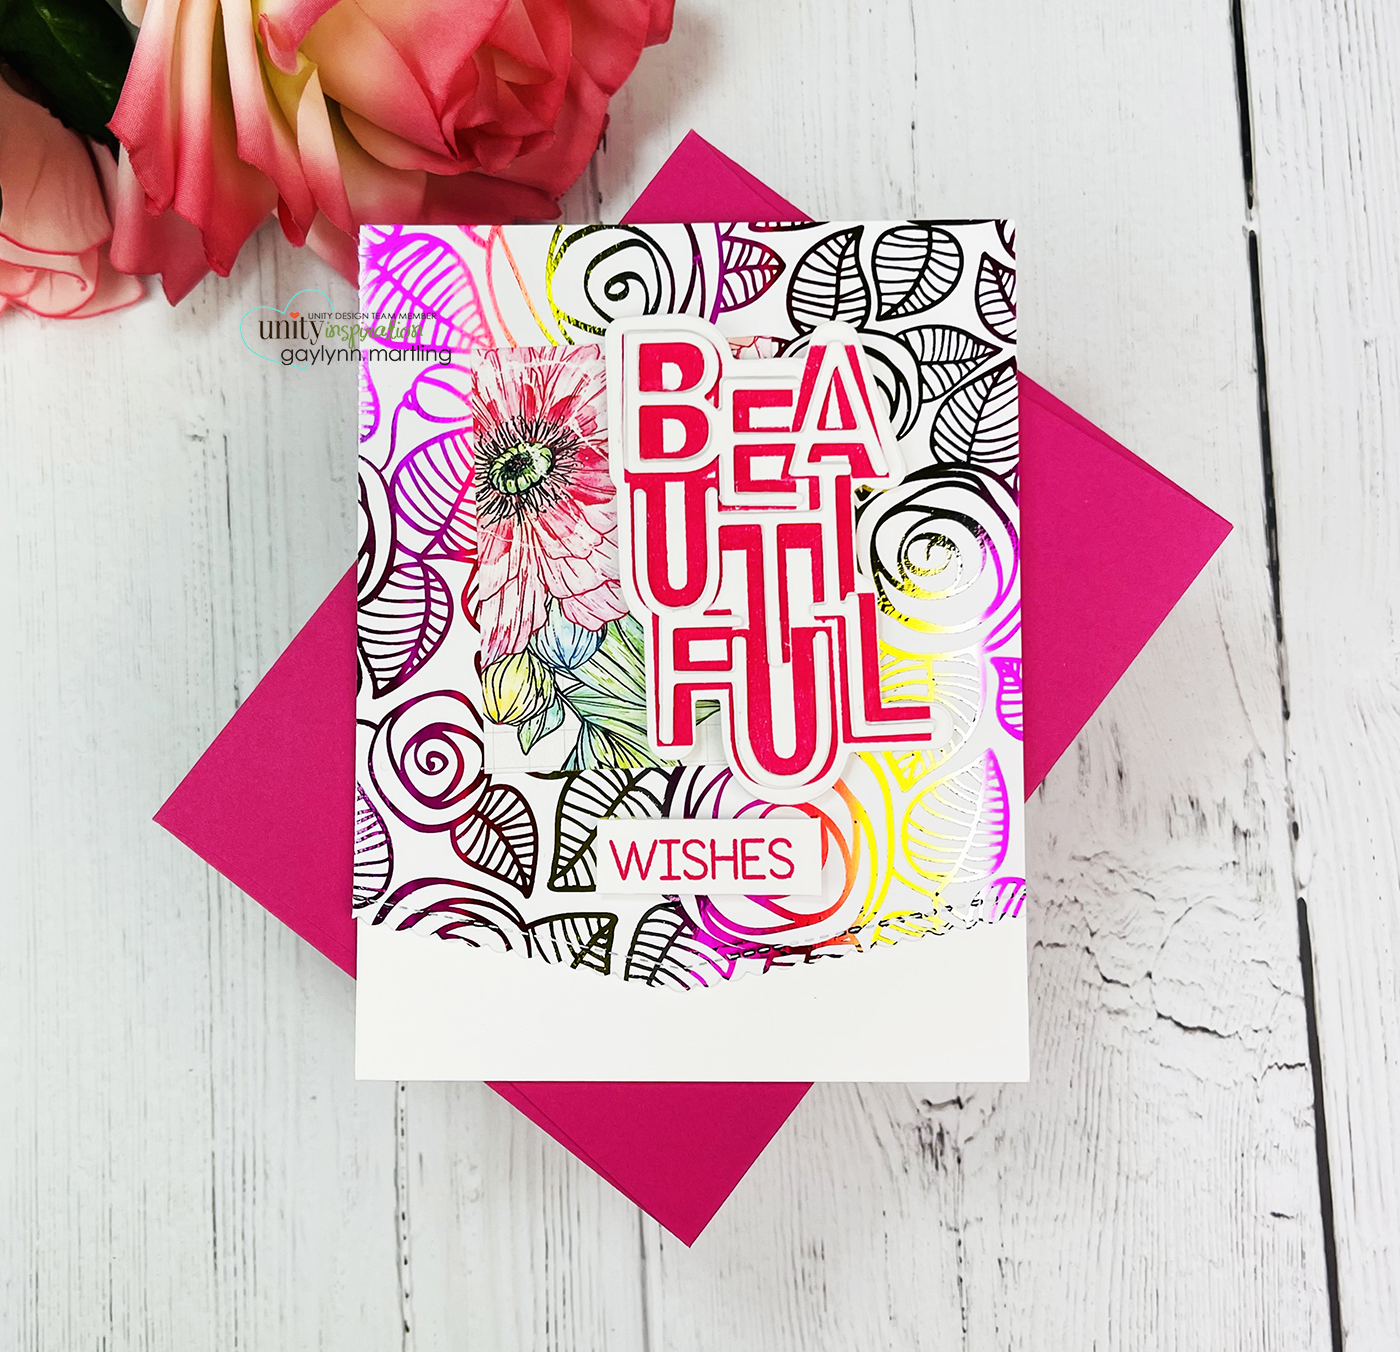
 Today, I am sharing two cards.  These were made using Unity stamps and coordinating dies along with deco foil and toner card fronts.  We are also participating in an Instagram hop with Unity and Therm-o-Web.  Head over to @neatnook on Instagram to play along or to get lots of creative inspiration.

Sentiments:
Congrats.  This calls for a celebration!
Beautiful wishes.


Helpful tips:

Here are helpful tips for making these cards.  First, trim and score the card bases and the toner card front panels.  Next, stamp, watercolor and fussy cut the flowers and leaves for accents.  Also, trim a patterned paper accent piece for the beautiful card.  Preheat your laminator.  Next, stamp the two big words plus smaller sentiments onto cardstock.  Then, die-cut around the big words with the coordinating dies.  Also, die-cut the narrow outline word layers three or four times per word on white cardstock.  Then, adhere 3 or 4 narrow outline layers together for dimension.  Next, layer the white stacked outline words over the thicker stamped corresponding words for a wonky abstract look.  Then, foil the trimmed toner card fronts using a laminator and foil sheets.  Finally, layer everything onto the card front, to finish.
 
Here is another card version:


I made a video tutorial showing the process for this project.
{{Please subscribe to my video channel and like this video.  Many thanks.}}
Also, cardstock, scissors, scoring board, Fiskars paper trimmer, Altenew watercolor, Ranger watercolor paper, My Favorite Things stitched scallop basic edges & stitched basic edges die-namics, premium dye ink in poppin' pink and jalapeno popper.

Remember that there is an Instagram hop going on.
Head over to @neatnook on Instagram to play along or to get lots of creative inspiration.

Thank you for visiting.  
Have a beautiful day.
Gaylynn


10/28/2020

Toner Foiling ~ How to use leftovers for negative foiling ~ 2 cards

 Hello.  For Technique Time at Unity, I show a way to use leftover foil pieces in this negative foiling technique.  For today's example, I am using Deco Foil toner card fronts which include toner images.  And then, I added foil using a laminator.


Sentiment:  From our gnome to yours.

With this negative foiling background technique, you get two foiled cards with one piece of deco foil.  And if you also use blank toner sheets, more colors can be added to the same toner card front.  In these cards, I added cute gnome stamping.


Helpful tips:
Here are helpful tips for negative foiling.  To begin, use a toner card front or an otherwise prepared panel for foiling.  Also, preheat a laminator and have a carrier sheet (parchment paper) ready.  Then, pre-trim foil pieces to cover the foil area.  Next, sandwich the foil piece over the toner card front inside of the carrier sheet.  Then, run this through the preheated hot laminator.  Next, gently peel away the first foil sheet to reveal the shiny foiled image.  You will have a sheet of leftover foil, I call the negative.  

For the negative foiling steps, trim a blank deco foil toner sheet panel to match your foil area.  Next, sandwich the negative foil over the toner sheet.  Then, run that through a hot pre-heated laminator.  Next, carefully peel away the "clear" film top layer where the foil used to be.  You will see that the foiling was transferred to the toner sheet.  This is ready to trim to fit your project.  OR, you can go one step further and add another foil color over that same foil sheet, run through a laminator to get a two-toned foiling result.  


I made a quick video tutorial showing the process for this project.
{{Please subscribe to my video channel and like this video.  Many thanks.}}
YouTube:  Gaylynn NeatThingsBtq


Here is another look.

Also, mini Misti, flat and foam double-sided tape, cardstock, My Favorite Things Stitched Basic E Die-namics; My Creative Time Rectangle Frame Die Layers, Simon Says Stamp intense black ink, Copic markers R27, RV29, R02, W7, W5, W3, W1, 0, B05, BG15, B01; Therm-O-Web Deco Foil in silver and deco foil toner sheets; Yourstory laminator, carrier sheet.

Be sure to visit the Unity blog for the entire article and tutorial.
Also, you can find my other features at Unity's
Technique Time and
Watercolor Wednesday.


Thank you for stopping by.
Gaylynn

10/26/2020

Foiling 4 Holiday Cards Deco Foil Toner Card Fronts ~ Tutorial

 Hi there.  For today, I am sharing four different Christmas and holiday cards using the new co-branded Deco Foil / Unity toner card fronts along with stamping.  This was a joy to do.  The toner card fronts work perfectly with laminator foiling.


This is the set of cards, all together.  I used four different colors of Deco Foil sheets for them.


Sentiment:  Warm hugs.

This gold ornament card was made using gold deco foil along with Copic markers.  I suggest adding color first and then add foil.  This helps to prevent damage to the marker nibs from the foiling.  All of the supplies are listed at the bottom of this post.  The florals give the look of garland.


Sentiment:  Peace on Earth

Here is a card using red foil with added Copics for the leaves accent.


Sentiment:  Merry & Bright

Here is a monochromatic card in blue foil and accented with a sentiment and a blue card base.


Sentiment:  Grateful for you this Christmas

And, finally, this green foil Christmas tree card shimmers beautifully.  I added the sentiment along with a green card base.

Supplies:  Unity Stamp Co. Christmas Wishes, Start Anew and Glimmering Greetings stamps, plus Deco Foil Toner Card Fronts Gifts A Plenty, Holiday Lights, Ornate Ornaments and Flurry Forest;  My Creative Time Rectangle Frame Die Layers; cardstock, double-sided flat and foam tape, Misti stamping tool, laminator, Deco Foil sheets in red, blue, green and gold.
Copic markers:
Warm Hugs card, YR14, YR23, Y21, YG0000, R27, R02, G28, G03, YG13,0, E13, E11. 
Peace on Earth card, G28, G17, G16, G07, G03, YG03, YG13, R27, R02, 0.


Thank you for visiting.  Have a wonderful day.
Gaylynn