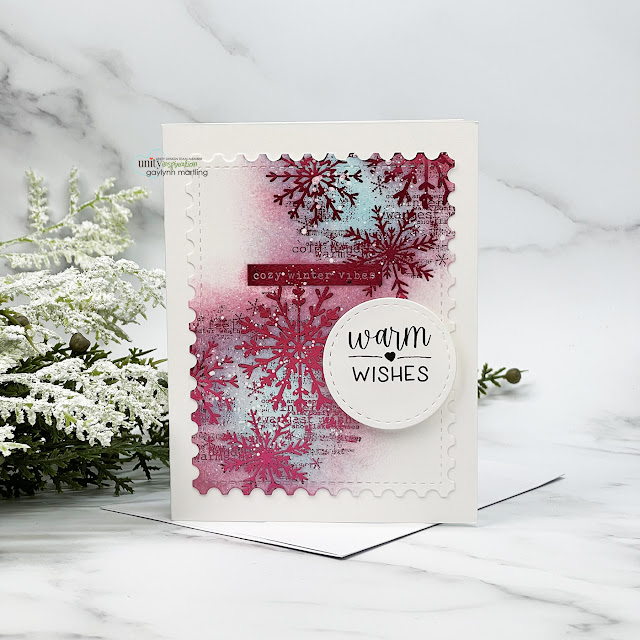
Hello and welcome. Here is a way to do winter card foiling with ink blending. The colors used are striking and shimmery.
The longer & detailed bonus video is in my
Here are helpful tips for winter card foiling with ink blending. To begin, prepare a card front by die-cutting and stamping using embossing ink. Then, add embossing powder and heat set the stamping. Next, add a sheet of foil over the embossed panel, sandwich it between a carrier sheet and then run it through a heated laminator. Then, carefully remove the foil sheet. Next, add ink blending in two colors over the snowflakes or around your particular stamped panel. Then, stamp and cut the top sentiment separately. Finally, layer it all onto the card base using flat and foam tape, to finish.
Here are two versions of the cards made.
Supplies:
Shake Your Flakes {December 2022 Sentiment Kit}
Also, Therm-O-Web deco foil pink melon, carrier sheet, embossing powder, powder tool, heat tool, embossing ink, black ink pad, laminator Scotch, ink blending brushes, splatter brush, distress ink pads in tumbled glass & worn lipstick; distress paint picket fence, palette tray, nonstick craft sheet, glue, magnetic die storage sheets, plastic stamp & die storage pockets, new Misti stamping tool, flat double-sided tape ATG, foam tape, desk mat, tweezers, die-cutting machine, scoring board, bone folder, craft scissors, A2 envelopes, clear bags card storage, Neenah 110 lb cover solar white cardstock, Neenah 80 lb solar white cardstock, paper trimmer, metal adapter plate.
Sharing even more crafty savings:
Gaylynn
{{ Don't miss my crafty news. Sign up for my emails below. }}


These are sooo beautiful Gaylynn!
ReplyDeleteOh, thank you. :)
Delete