Card foiling is double the fun by using negative foiling for a second card. Today, on the Unity blog, I am sharing two cards using toner card fronts with foil and a laminator. I go an extra step to show a way to use the negative of the first foiling plus added double foiling.

Sentiments:
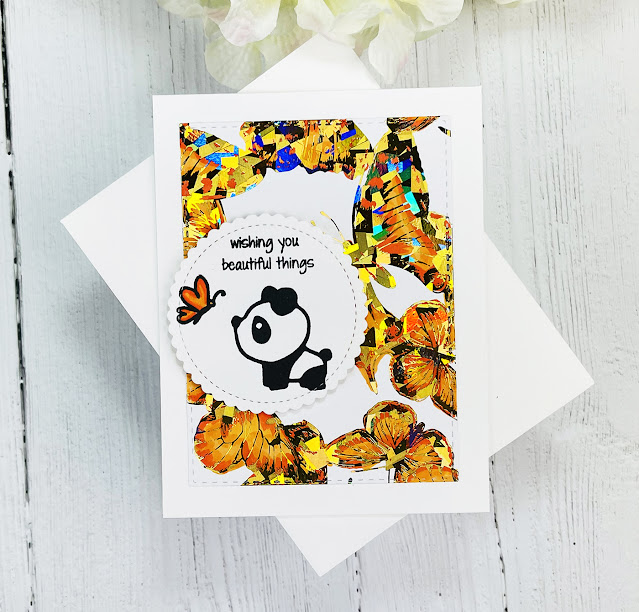
Wishing you beautiful things.
A mother's love is measured in timeless moments.
A mother's love is measured in timeless moments.
Making a set of foiled cards is easier using the negative of the first foiling pass. An added bonus is double foiling. Here is a look at how it is done.
Here is the moth toner card front with the first foiling pass using a gold shattered glass foil sheet.

Helpful tips:
Here are helpful tips for making this set of foiled cards. To begin, pre-trim or die-cut the toner card fronts and the black toner sheet to desired sizes. Also, stamp, color and prepare sentiment tags for each of the cards. Next, preheat your laminator. Then, trim one gold foil sheet and one purple foil sheet a little larger than the panels that you are foiling on. And, have a carrier sheet ready, like a smooth folded piece of parchment paper. Next, sandwich the toner card front face up and then the gold foil sheet pretty side up between the parchment paper. Then, run this sandwich through the hot laminator and then gently remove the gold foil. Next, repeat the process but use a black toner sheet plus the negative of the gold. You should get a gold background with the moths in black. If you want the moths another color, foil once more using purple or another color. Finally, assemble the cards, to finish.
Here is a second card made after using the negative of the first moth foiled sheet along with an added third foiling pass using purple foil.


I made a quick video tutorial showing the process for this project.
YouTube: Gaylynn NeatThingsBtq
Supplies:
Unity Stamp Co. Timeless Moments, Butterfly & A Bear and Deco Foil Toner Card Fronts {majestic moths}.Also, iCraft Deco Foil in amethyst watercolor & gold shattered glass, Deco Foil black toner sheets; flat and foam double-sided tape, My Creative Time rectangle frame die layers, My Favorite Things extreme black hybrid ink pad and stitched mini scallop circle STAX die-namics; gold glitter paper, original Misti, Yourstory laminator, parchment paper, Copic markers YR09, YR04, YR14Also, you can find my other features at Unity's
Technique Time and
Watercolor Wednesday.
Thank you for visiting.
Gaylynn


No comments:
Post a Comment