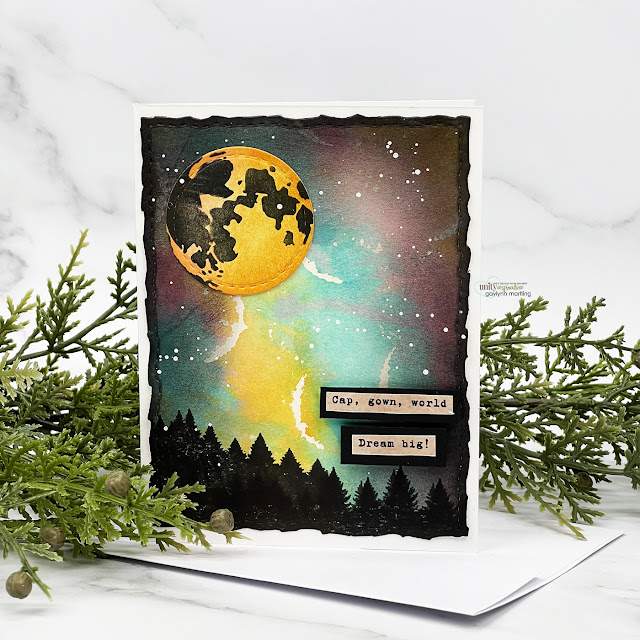
Check out this set of cards with a Northern Lights ink to stamp background technique. I made each card slightly different. Graduation sentiments were added, but almost any theme will work.
Helpful Tips:
In summary, to make these Northern Lights ink to stamp background cards, prepare two white A2 sized card bases 4 1/4" x 5 1/2". Then, using a stamp positioning tool like the Misti, place a light yellow or ivory heavy cardstock panel and the starlight moon background stamp. Use paper larger than needed to stamp and trim down to size later. Next, use ink blending brushed with distress ink pads to add color directly to the stamp in long swipes. I used pink, blue, green and orange hues but use colors you like. Also, fill the stamp with color and overlapping parts. Mist the stamp with water first and then stamp onto the paper. Blot away any puddles and heat set the background. Also, lightly add black ink blending around the outer edges of the card front panel. Next, stamp two strips of tree layers in black on the bottom of the blended panel. For the moon, stencil the moon layers. Use two colors of orange distress ink pads for the circle plus a black for the shadow section. Then, trim or die-cut the moon. (Optional, mask the moon prior to adding ink blending to the background. The second card shows that example.) Finally, adhere the background layer and the moon using flat double-sided tape and add pop-up layered sentiments to each card, to finish.
Lastly, the second card example follows using slightly different color blending and masking of the flat moon. This created more of a watercolor moon look due to the added spray mist.
Gaylynn
{{Remember to catch my crafty news. Sign up for my emails below. }}
Affiliate links from Amazon and more follow at no cost to you.


No comments:
Post a Comment