11/16/2021

Colossal snowflake embossed holiday card ~ Quick Tip Tutorial

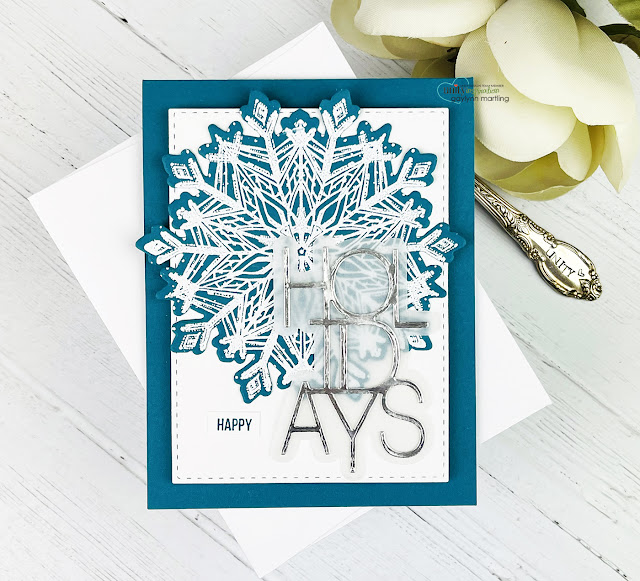
    Today, I am sharing a simple winter embossed card featuring a large snowflake.  Included is a quick tutorial for this project.


Sentiment:
Happy Holidays

I made a quick video tutorial showing the process for this project.
{{Please subscribe to my video channel and like this video.  Many thanks.}}


Helpful tips:

To create this winter embossed card, begin by die-cutting or trimming a white background layer and a teal card base.  Then, stamp and heat emboss the big snowflake using white ink and white embossing powder over dark teal cardstock.  Next, using the coordinating die, die-cut the snowflake.  Also die-cut both of the "holidays" sentiment layers.  And, stamp and trim the "happy" sentiment.  Finally, layer it all, to finish.

Here is another look.


 Supplies:

Unity Stamp Co.
Colossal Snowflake stamp
Colossal Snowflake {coordinating die}
Say It Big {Coordinating Die Set}
Heart Of Christmas stamps

Also, flat and foam 
double-sided tape, My Creative Time rectangle frame die layers, Papertrey Ink vellum cardstock, Gina K. Designs connect glue, heat tool, white embossing powder, white pigment ink, My Favorite Things tropical teal premium dye ink and card stock in silver shine and tropical teal. 
 
Thank you for stopping by. 
Gaylynn
 

No comments:

Post a Comment

Note: Only a member of this blog may post a comment.