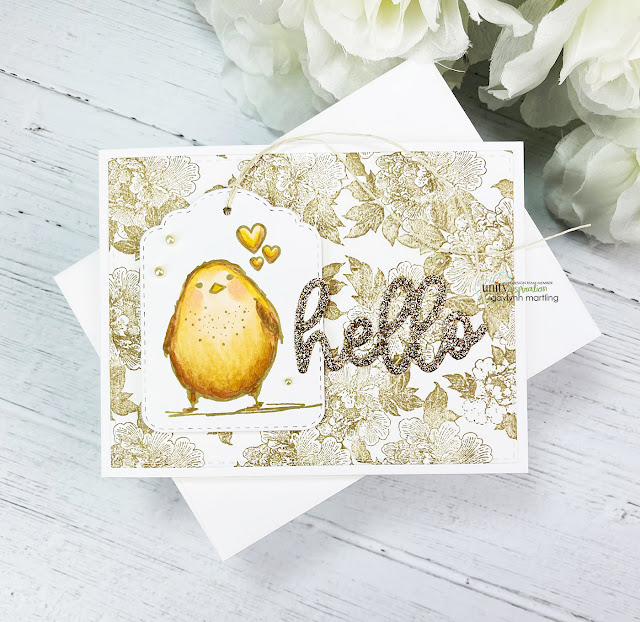
Here is a way to stretch your background stamps while also using your handmade tags. Today, on the Unity blog, I am sharing 2 tag cards using 1 background stamp two ways.
So dang sorry you are feeling so sad.
Hello.
Here are helpful tips for making these 2 tag cards using 1 background stamp two ways. To begin, stamp the background twice onto white cardstock, using kraft color ink. Next, on one of the backgrounds mark your paper placement to prepare for restamping later. Then, leave the background stamp affixed to the original Misti or stamp positioning tool. Next, for the purple card, color in some of the flowers and then restamp using embossing ink, keeping the placement the same. Then, heat emboss in gold. Also, stamp and heat emboss the sentiment panel using a different stamp positioner or after the background is completed. Next, using the extra kraft color background, make another card without color or embossing. Just add a premade tag and die-cut sentiment. Finally, layer both cards, to finish.
YouTube: Gaylynn NeatThingsBtq
Unity Stamp Co. Coming Up Roses {background}, So Dang Sorry, Swagger, Chic Script Salutations {Die Set}.
Also, flat and foam double-sided tape, cardstock, Gina K. Designs connect glue, My Creative Time rectangle frame die layers, tall tag frame die layers, tag frame die layers (retired); Wow embossing pad, My Favorite Things kraft hybrid ink and boysenberry dye ink, card stock in grapesicle and grape jelly; Ranger gold embossing powder, heat tool, Original Misti, Mini Misti, Copic markers Y26, E33, YR00, R20, V06, V04, V09, RV11.
Also, you can find my other features at Unity's
Technique Time and
Watercolor Wednesday.
Thank you for visiting.


No comments:
Post a Comment