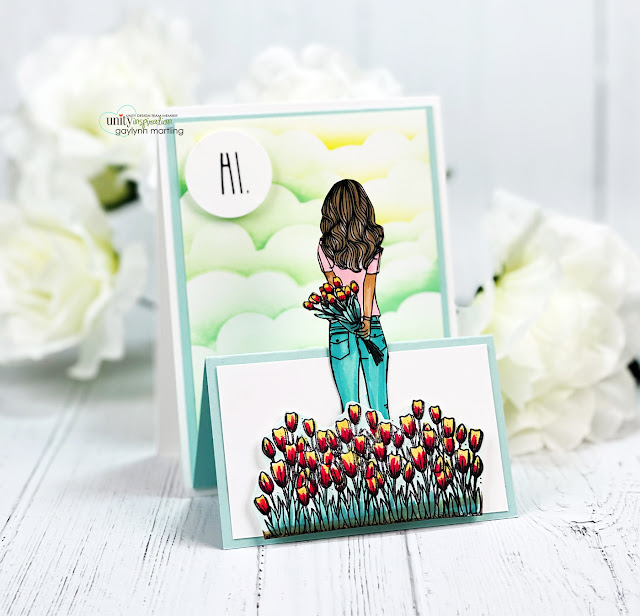
For Technique Time, I am showing a way to make an easel card that includes an outdoor scene. In this tutorial, no dies are used.
An easel card technique is a great way to add interest and dimension to a handmade card. It is interactive and is includes pretty scene building.

Helpful tips:
Here are helpful tips for creating this easel card scene. To begin, stamp the girl, the flowers and the sentiment. Next, trim and score a card base and a mint color frame panel. Then, trim a cloud panel and a bottom trim. Also, add color to the girl and flowers and then fussy cut (cut out) the girl and the flowers. I used a circle punch for the sentiment. Next, add light ink blending in two colors onto the cloud panel using a cloud stencil. Finally, adhere the scored green panel onto the card base and add the accent layers to finish the easel card.
A2 card base: Cut 11" x 4 1/4" and score at 5 1/2".
Mint frame layer: Cut 10 1/4" x 4" and score at 5 1/2" and 7 3/4".
Cloud layer: Cut 5" x 3 3/4".
White front strip: Cut 3 3/4" x 2 1/4".
Also, foam and flat double-sided tape, cardstock, Misti, Simon Says Stamp intense black ink, distress oxide ink in cracked pistachio and fossilized amber; 1 1/4" paper punch, scoring board, bone folder, Copic markers E44, E33, E71, E11, Y21, RV29, RV11, BG18, BG15, BG32, BG10.


Love this card! Thanks for sharing!
ReplyDeleteLovely card!
ReplyDelete