4/08/2020

2 Butterfly Cards Using Embossing Folders and Ink + Video Tutorial

Hello.  I am sharing two butterfly cards using embossing folders and ink as background accents.


Here are helpful tips for creating cards using embossing folders and ink.  To begin, pre-trim or die-cut cardstock to prepare for dry embossing.  Also, stamp, color and cut out butterflies and sentiment pieces.  Next, open an embossing folder and ink up the inner flat side and leave the raised side without ink.  Then, lay the trimmed cardstock panel on the uninked side of the embossing folder.  Now, gently place the inked side over the dry side of the folder.  Next, dry emboss using your embossing/die-cutting machine of choice.  I ran mine through a die-cutting/embossing machine and sandwiched the closed embossing folder between two plates over the base. Remove the ink and embossed panel and heat set.  Repeat for the other card panel.  Finally, trim as needed and then assemble all of the layers to the card base, to finish.


Sentiment:  Take care of your garden and the butterflies will come.

Here is another look.


Sentiment:  No matter how difficult the days may get, remember your purpose.

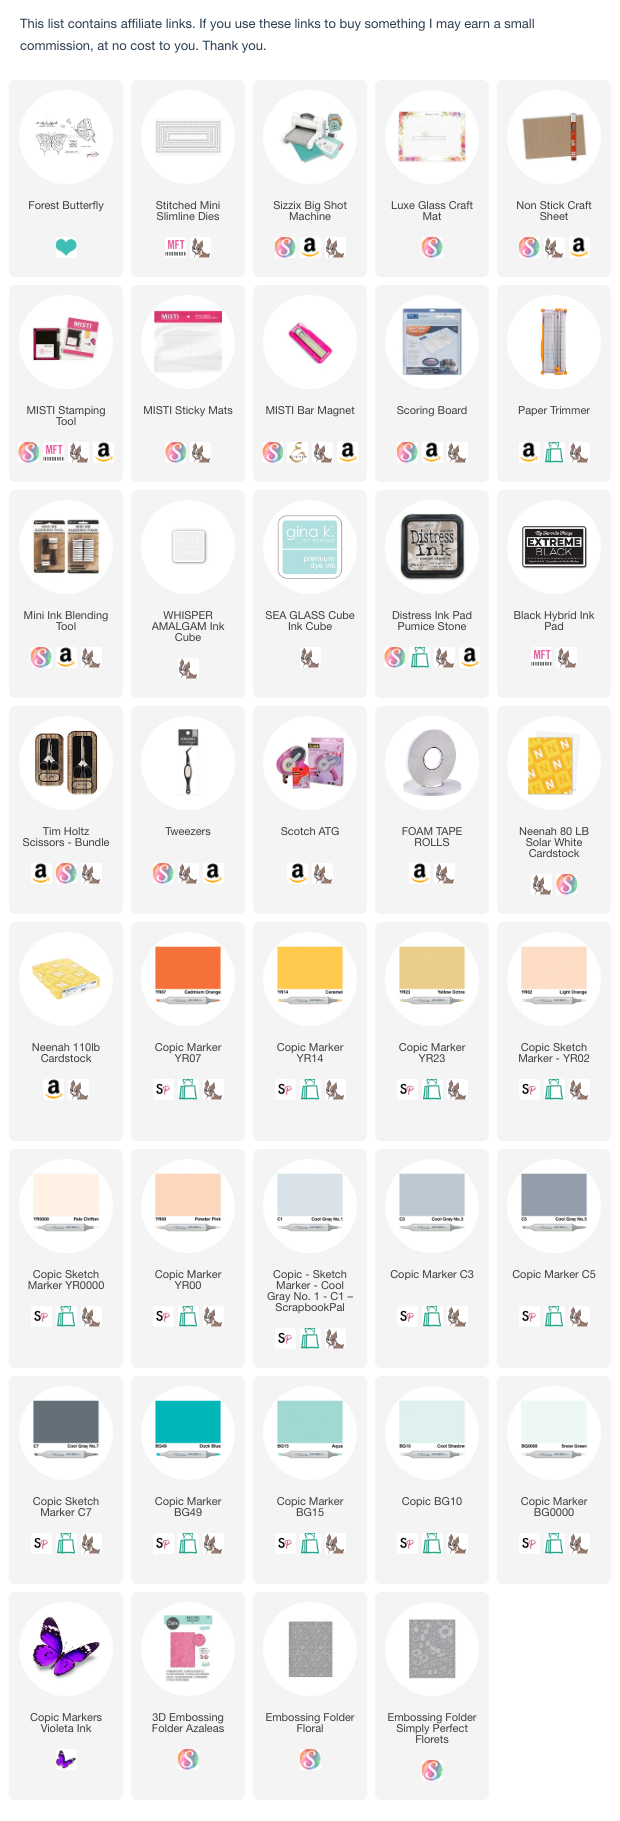
Note:  The embossing folders that I used are no longer available, so I added similar ones below.

Thanks for visiting.
Gaylynn

4/04/2020

Sweet bunny love card with masking, watercolor & stenciling.

Hi there.  Today, I am sharing a darling bunny card with a love theme for any occasion.  There can never be too much love to go around.


Sentiment:  XOXO

Here are helpful tips for creating this card.  To begin, pre-trim or die-cut paper layers, then stamp the bunny onto the top watercolor paper panel.  Next, punch or die-cut a circle from masking paper, like masking magic.  Then, adhere that masked piece over the bunny or your own stamping.  Next, add stencil ink blending around the whole top panel from dark to light.  Then, remove the masking.  Now, color in the bunny with watercolor or your coloring of choice.  Finally, assemble the card layers and accents, to finish.


I made a quick video tutorial showing the process for this project.
{{Please subscribe to my video channel and like this video.  Many thanks.}}
YouTube:  Gaylynn NeatThingsBtq


Here is another look.


Supplies:  Unity Stamp Co. Hugs & Kisses Bunny and All Kinds Of Love Stencil; Gina K Designs masking magic, distress oxide ink worn lipstick, Zig clean color real brush pens 065, 071, 072, 064, 028, 021, 026; blending brush, Spellbinders dies, adhesive pearls, Pretty Pink Posh dies, PTI vellum, StazOn ink, Ranger jet black archival ink, multi medium matte glue & plastic craft mat; Canson watercolor paper, double-sided foam tape, My Favorite Things A2 stitched rectangle dies, watercolor brush, heat tool.

Thanks for visiting.
Gaylynn

4/03/2020

Pretty Circles ~ MCT 101th Edition Release & Blog Hop + Video

Hi there, it's Gaylynn.  The My Creative Time 101th Edition release, sale and blog hop has begun.
For the blog hop, you may have arrived from Emily's blog.


Sentiment:  For you.

 *** BLOG HOP GIVEAWAY ***
Leave your comments on each blog for a chance to win a $25 Gift Card to the My Creative Time store. One lucky winner will be chosen and noted on April 8th on the MCT blog! GOOD LUCK my friends!
***ALSO, PLEASE DON'T FORGET TO LEAVE A WAY/EMAIL FOR US TO CONTACT YOU IF YOU WERE TO BE ONE OF THE LUCKY WINNERS! :) 

For this card, I first added distress ink to the card base using a stencil.  Next, I die-cut the circle layers using teal cardstock and watercolor paper for the scalloped circle.  Then, I added light watercolor to the scalloped circle in pink and teal.  Next, I stamped two flowers onto watercolor paper in waterproof ink.  Then, I added layers of pink and teal watercolor to the flowers for a variegated look.  Next, I die-cut the two flowers.  To finish, I layered everything and added gems to finish.

I made a video tutorial showing the process for this project.
{{Please subscribe to my video channel and like this video.  Many thanks.}}

*** SALE ALERT ***

DON'T FORGET our sale starts RIGHT NOW HERE! Use the code: MAR2020 to receive a 15% discount off your entire purchase! This sale applies to "IN-STOCK" items ONLY. This sale will end on Friday, April 10th, 2020, at midnight PST. Here are my sneak peek blog projects from this release.


Da
y 2

Day 3


Day 4

Here is another look at today's project.


Supplies for today's project My Creative Time Stay Beautiful, Pretty Scalloped Circle dies and Pretty Circle Layer dies; Ranger archival ink and distress oxide ink in worn lipstick; blending brush, stencil, mini Misti, Canson watercolor paper, watercolor brushes, Altenew watercolor half pans and palette, adhesive gems, foam tape.

Hop along with us.


Your next stop in the hop is Giner's blog. The entire blog hop lineup is on Emma's My Creative Time blog.


Thanks for visiting. I look forward to your comments.

Gaylynn


4/02/2020

Day 4 MCT 101st Edition Sneak Peeks ~ Letter Board Card

Hi, it's Gaylynn.  Here is Day 4 of the My Creative Time 101st Edition sneak peeks.  Today, I am sharing a letter board inspired card using letter dies and patterned papers.  This would be great for a guy or a gal.


Sentiment:  Happy birthday.  Cheers.

For this card, I pre-cut patterned paper pieces to fit the card front.  Onto the darker background, I stamped and heat embossed the happy birthday sentiment.  I decided to trim and use one of the paper sheets that reminded me of a letter board background.  Next, I adhered all of the trimmed paper layers.  
Then, I die-cut the cheers letters and letter layers.  Next, the letters were adhered over the stiped background piece.  To finish, I added flag accents and adhesive pearls.

*** Sneak Peek Giveaway ***
We will be giving away the sets we are showcasing each day to ONE lucky winner!  For example, the set we are showcasing on Wednesday, Emma will announce the winner of that on Thursday and the sets we are showcasing on Thursday, Emma will announce that winner on Friday on the MCT blog!  ALL you have to is leave a comment on each of our blogs!  You are NOT required to comment on every single blog, but the more you comment on, the more chances you have for winning!  VERY IMPORTANT, PLEASE leave a way for us to contact you with your comments just in case YOU are the lucky winner!  
For EXTRA entries, you can spread the word about this release on Facebook, tweet about it OR even Instagram it.... #mycreativetime

Here is another look.


Supplies for today's project: My Creative Time Stay Beautiful, ABC dies, 3x3 Trifold Dies Revised; ivory cardstock, Pink Paislee and BasicGrey paper, adhesive pearls, foam tape, heat tool, powder tool, mini Misti and VersaMark ink, embossing powder.

For more sneak peek inspiration, visit Emma's My Creative Time blog.
Join us tomorrow for the full release reveal and the blog hop.
Thanks for visiting. I look forward to your comments. Gaylynn

4/01/2020

Mixed media pear card + watercolor and distress oxide ink.

Hello.  For Technique Time at Unity, I am sharing a mixed media card using watercolor, stamping and distress oxide ink blending.


Sentiment:
New day, new strength, new hope.  We got this.

Here are helpful tips for creating this mixed media card.  To begin, pre-trim or die-cut watercolor paper to fit your card front.  Then, stamp the pear and one sentiment onto that watercolor paper.  Next, stamp the bottom sentiment or add foil onto vellum and then trim that to add later.  Next, prepare a palette of watercolors mixed with water.  Now, add color in different shades of green to the pear and the leaves and then heat set.  Once dry, begin adding ink shading using a blending brush, around that pear panel.  I used two colors of ink blending.  Then, splatter with green watercolor and again with white diluted paint.  Heat set.  Finally, layer the panels, the foiled sentiment, gems and cording to finish.


I made a quick video tutorial showing the process for this project.
{{Please subscribe to my video channel and like this video.  Many thanks.}}
YouTube:  Gaylynn NeatThingsBtq


Here is another look.


Supplies:  Unity Stamp Co. Head Up, My Friend 4/2020 SMAK, Prima watercolor half pans, distress oxide ink in peeled paint and walnut stain; heat tool, watercolor brush, Canson watercolor paper, paper trimmer, double-sided flat and foam tape, white acrylic paint, deco foil in Spring green, adhesive pearls, cording, Ranger archival ink and plastic craft mat; blending brushes.

Be sure to visit the Unity blog for the entire article and tutorial.
Also, you can find my other features at Unity's
Technique Time and
Watercolor Wednesday.


Thanks for visiting.
Gaylynn