Today, I am sharing my Spring floral card with watercolor and paper layers. This shows how to use distress markers in a few different ways. The flower petals shimmer on this card.

Sentiment: Happy birthday. Hooray.
Helpful tips:
Here are helpful tips for creating this card. To begin, stamp the flowers and the sentiment onto watercolor paper. Next, die-cut or trim the stamped panel and paper layers. Then, watercolor the flower panel. I used Ranger Tim Holtz distress markers along with water and a watercolor brush to move the color around. Once dry, add shimmer to the flowers (optional). Finally, layer it all onto the card base.

I made a video tutorial showing the process for this project.
{{Please subscribe to my video channel and like this video. Many thanks.}}
YouTube: Gaylynn NeatThingsBtq
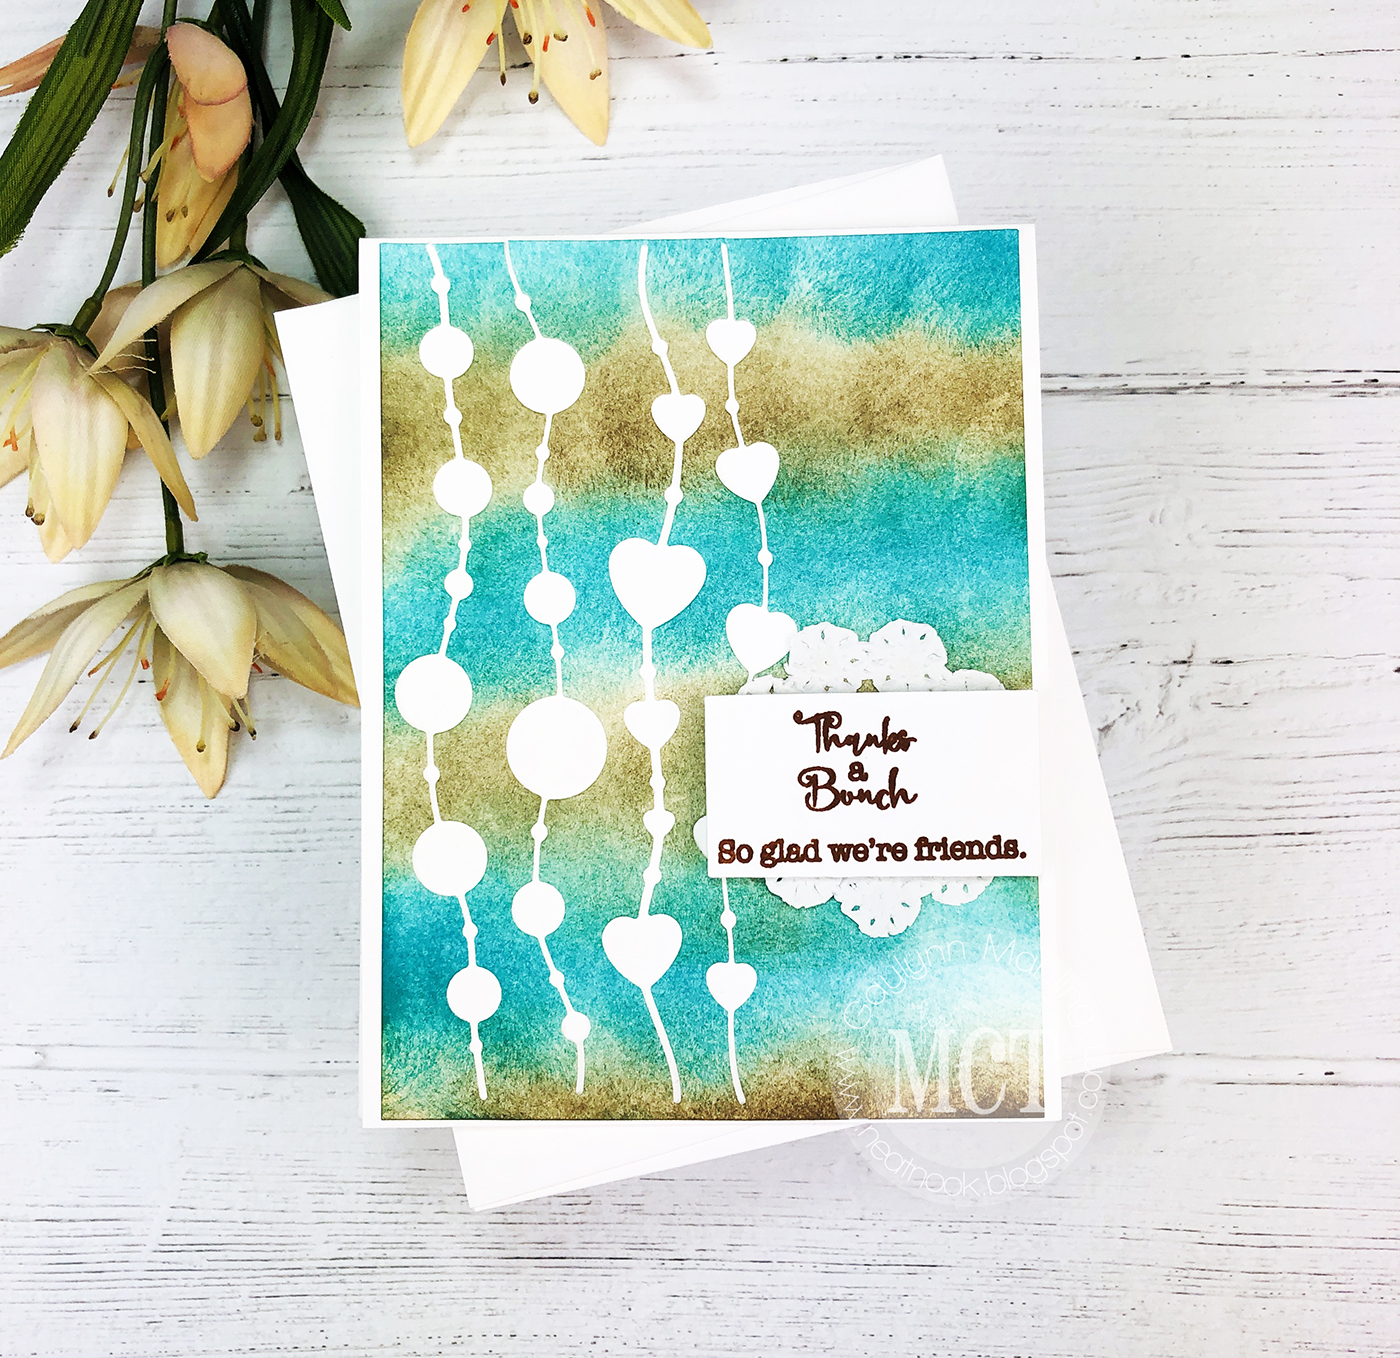
Here is another look:

Also, My Favorite Things hip hip hooray die-namics, flat and foam double-sided tape, cardstock, paper trimmer, Ranger multi medium matte glue, distress markers in mowed lawn and worn lipstick; Altenew palette mat, Ink On 3 liquid pixie dust, gold foil paper, Canson watercolor paper.
Thank you for visiting.
Enjoy your day.
Thank you for visiting.
Enjoy your day.